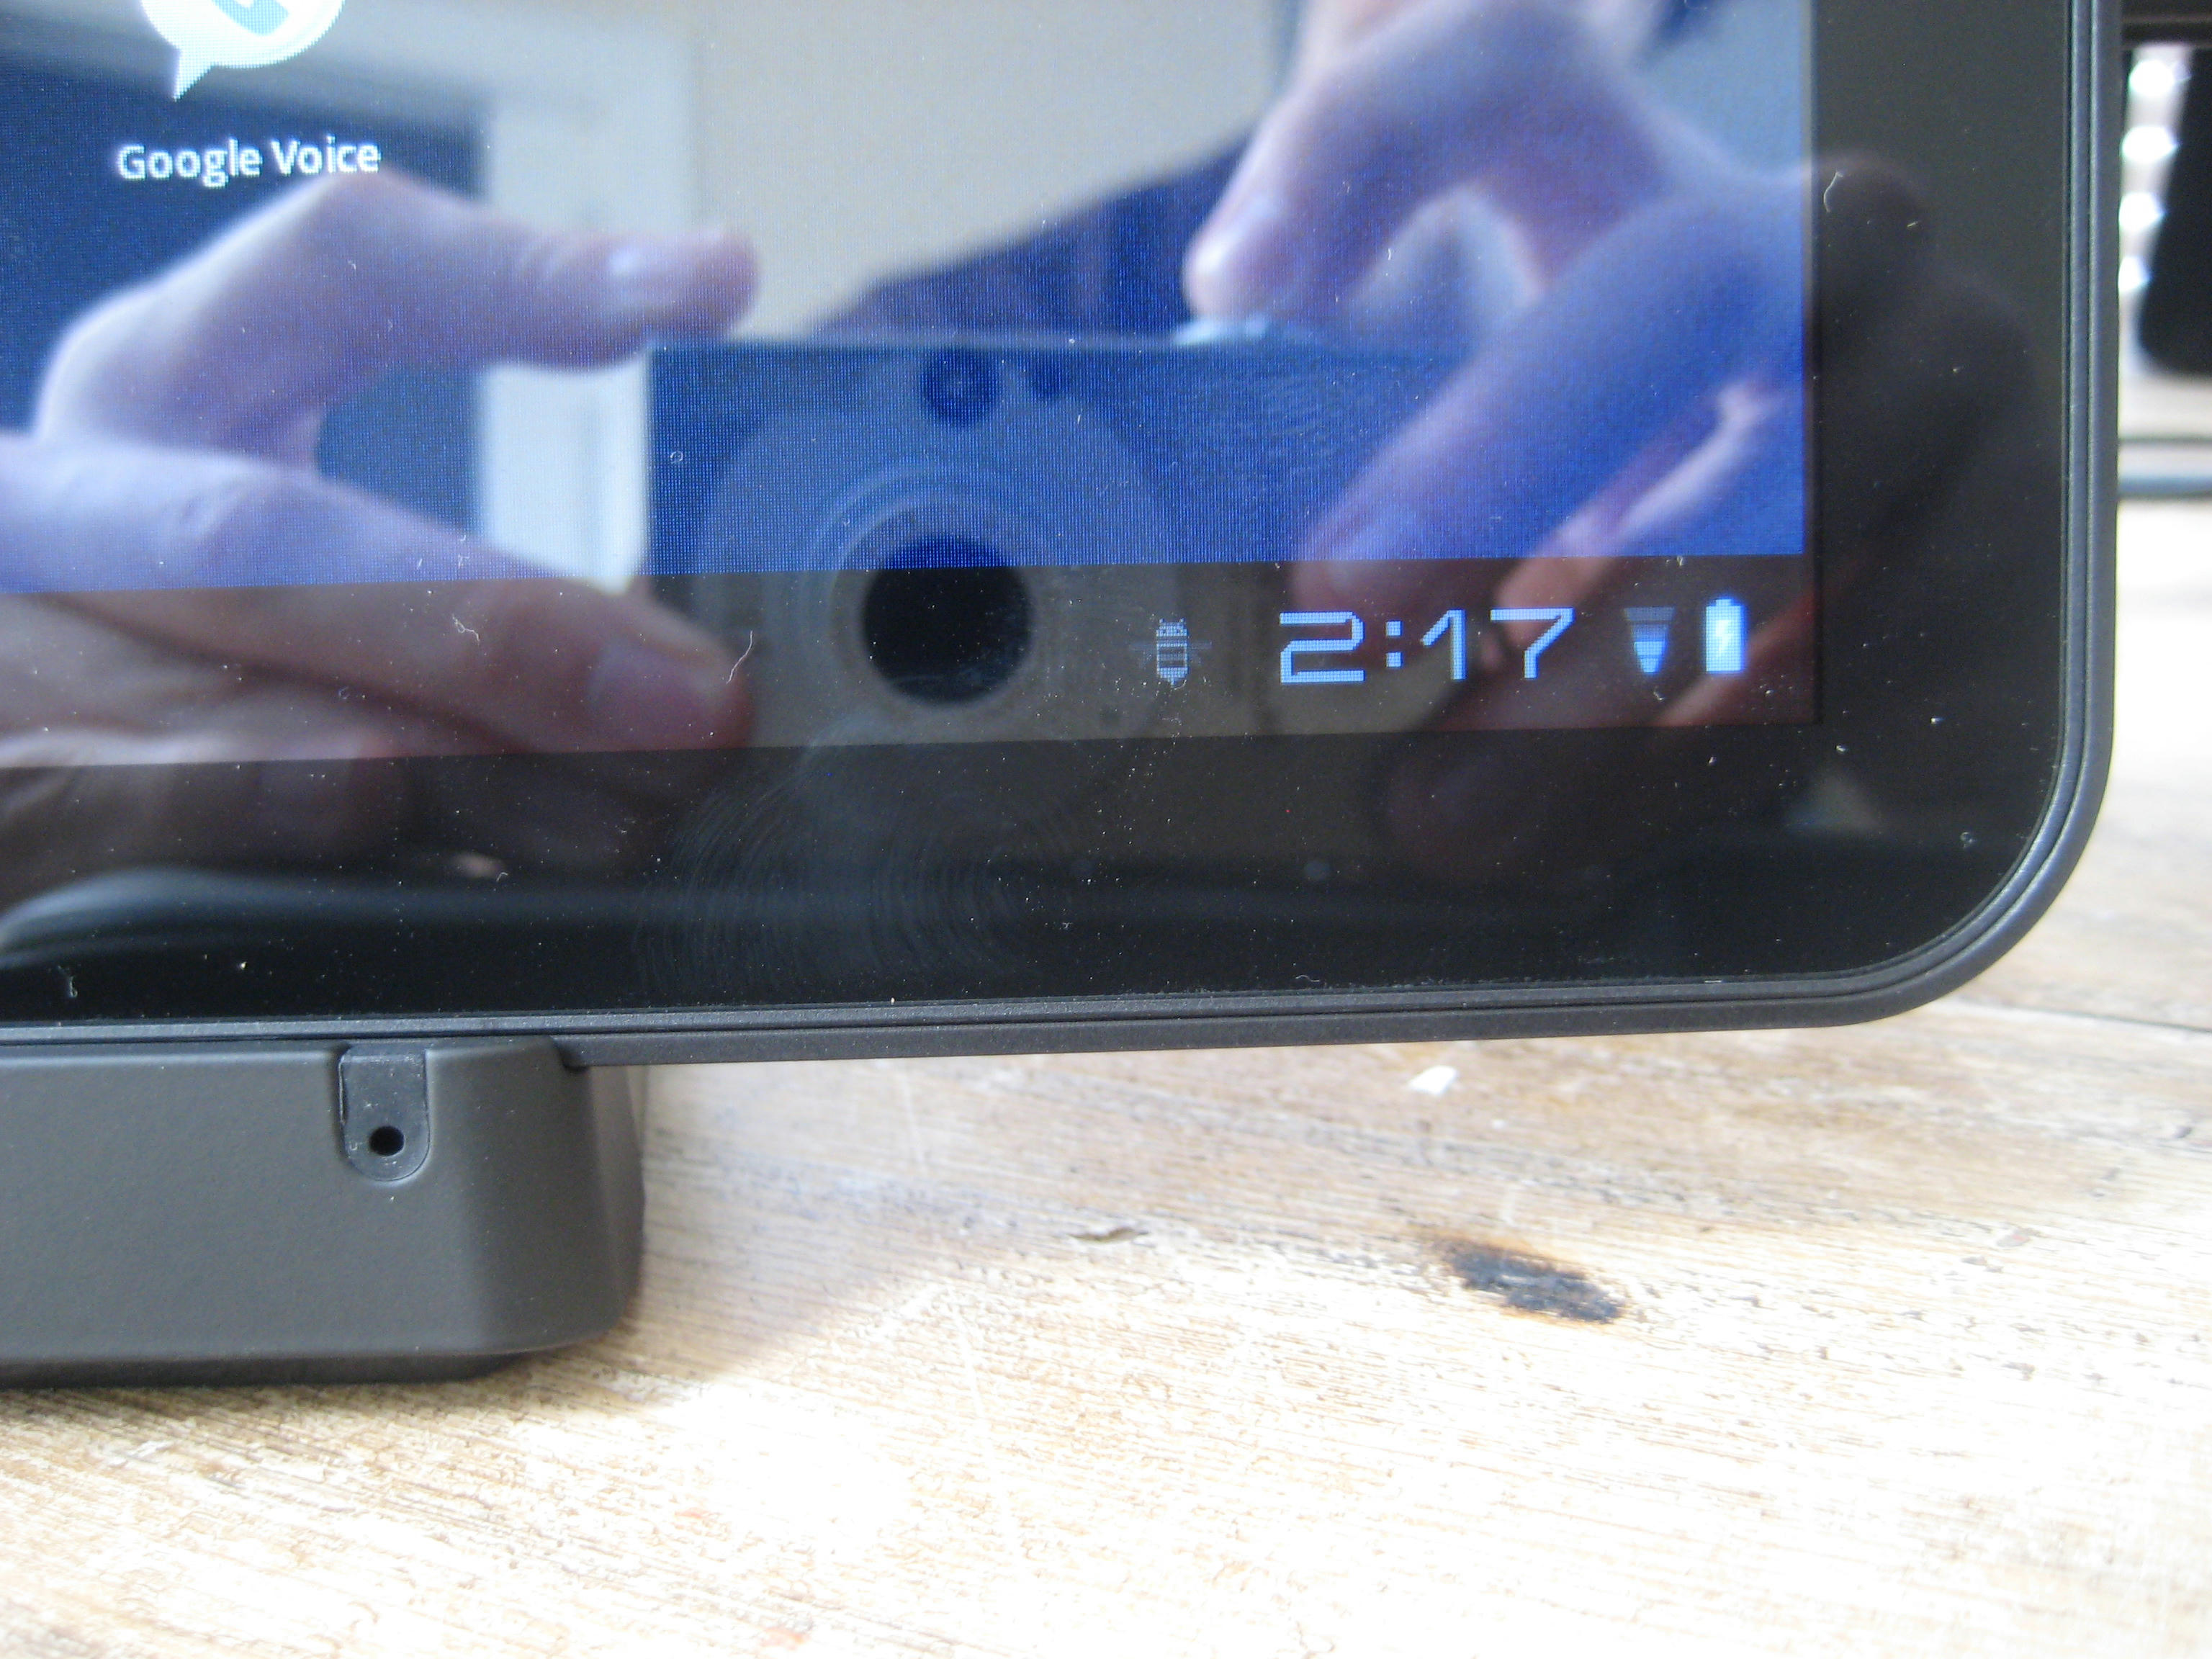
Xoom dock modified to allow passthrough USB
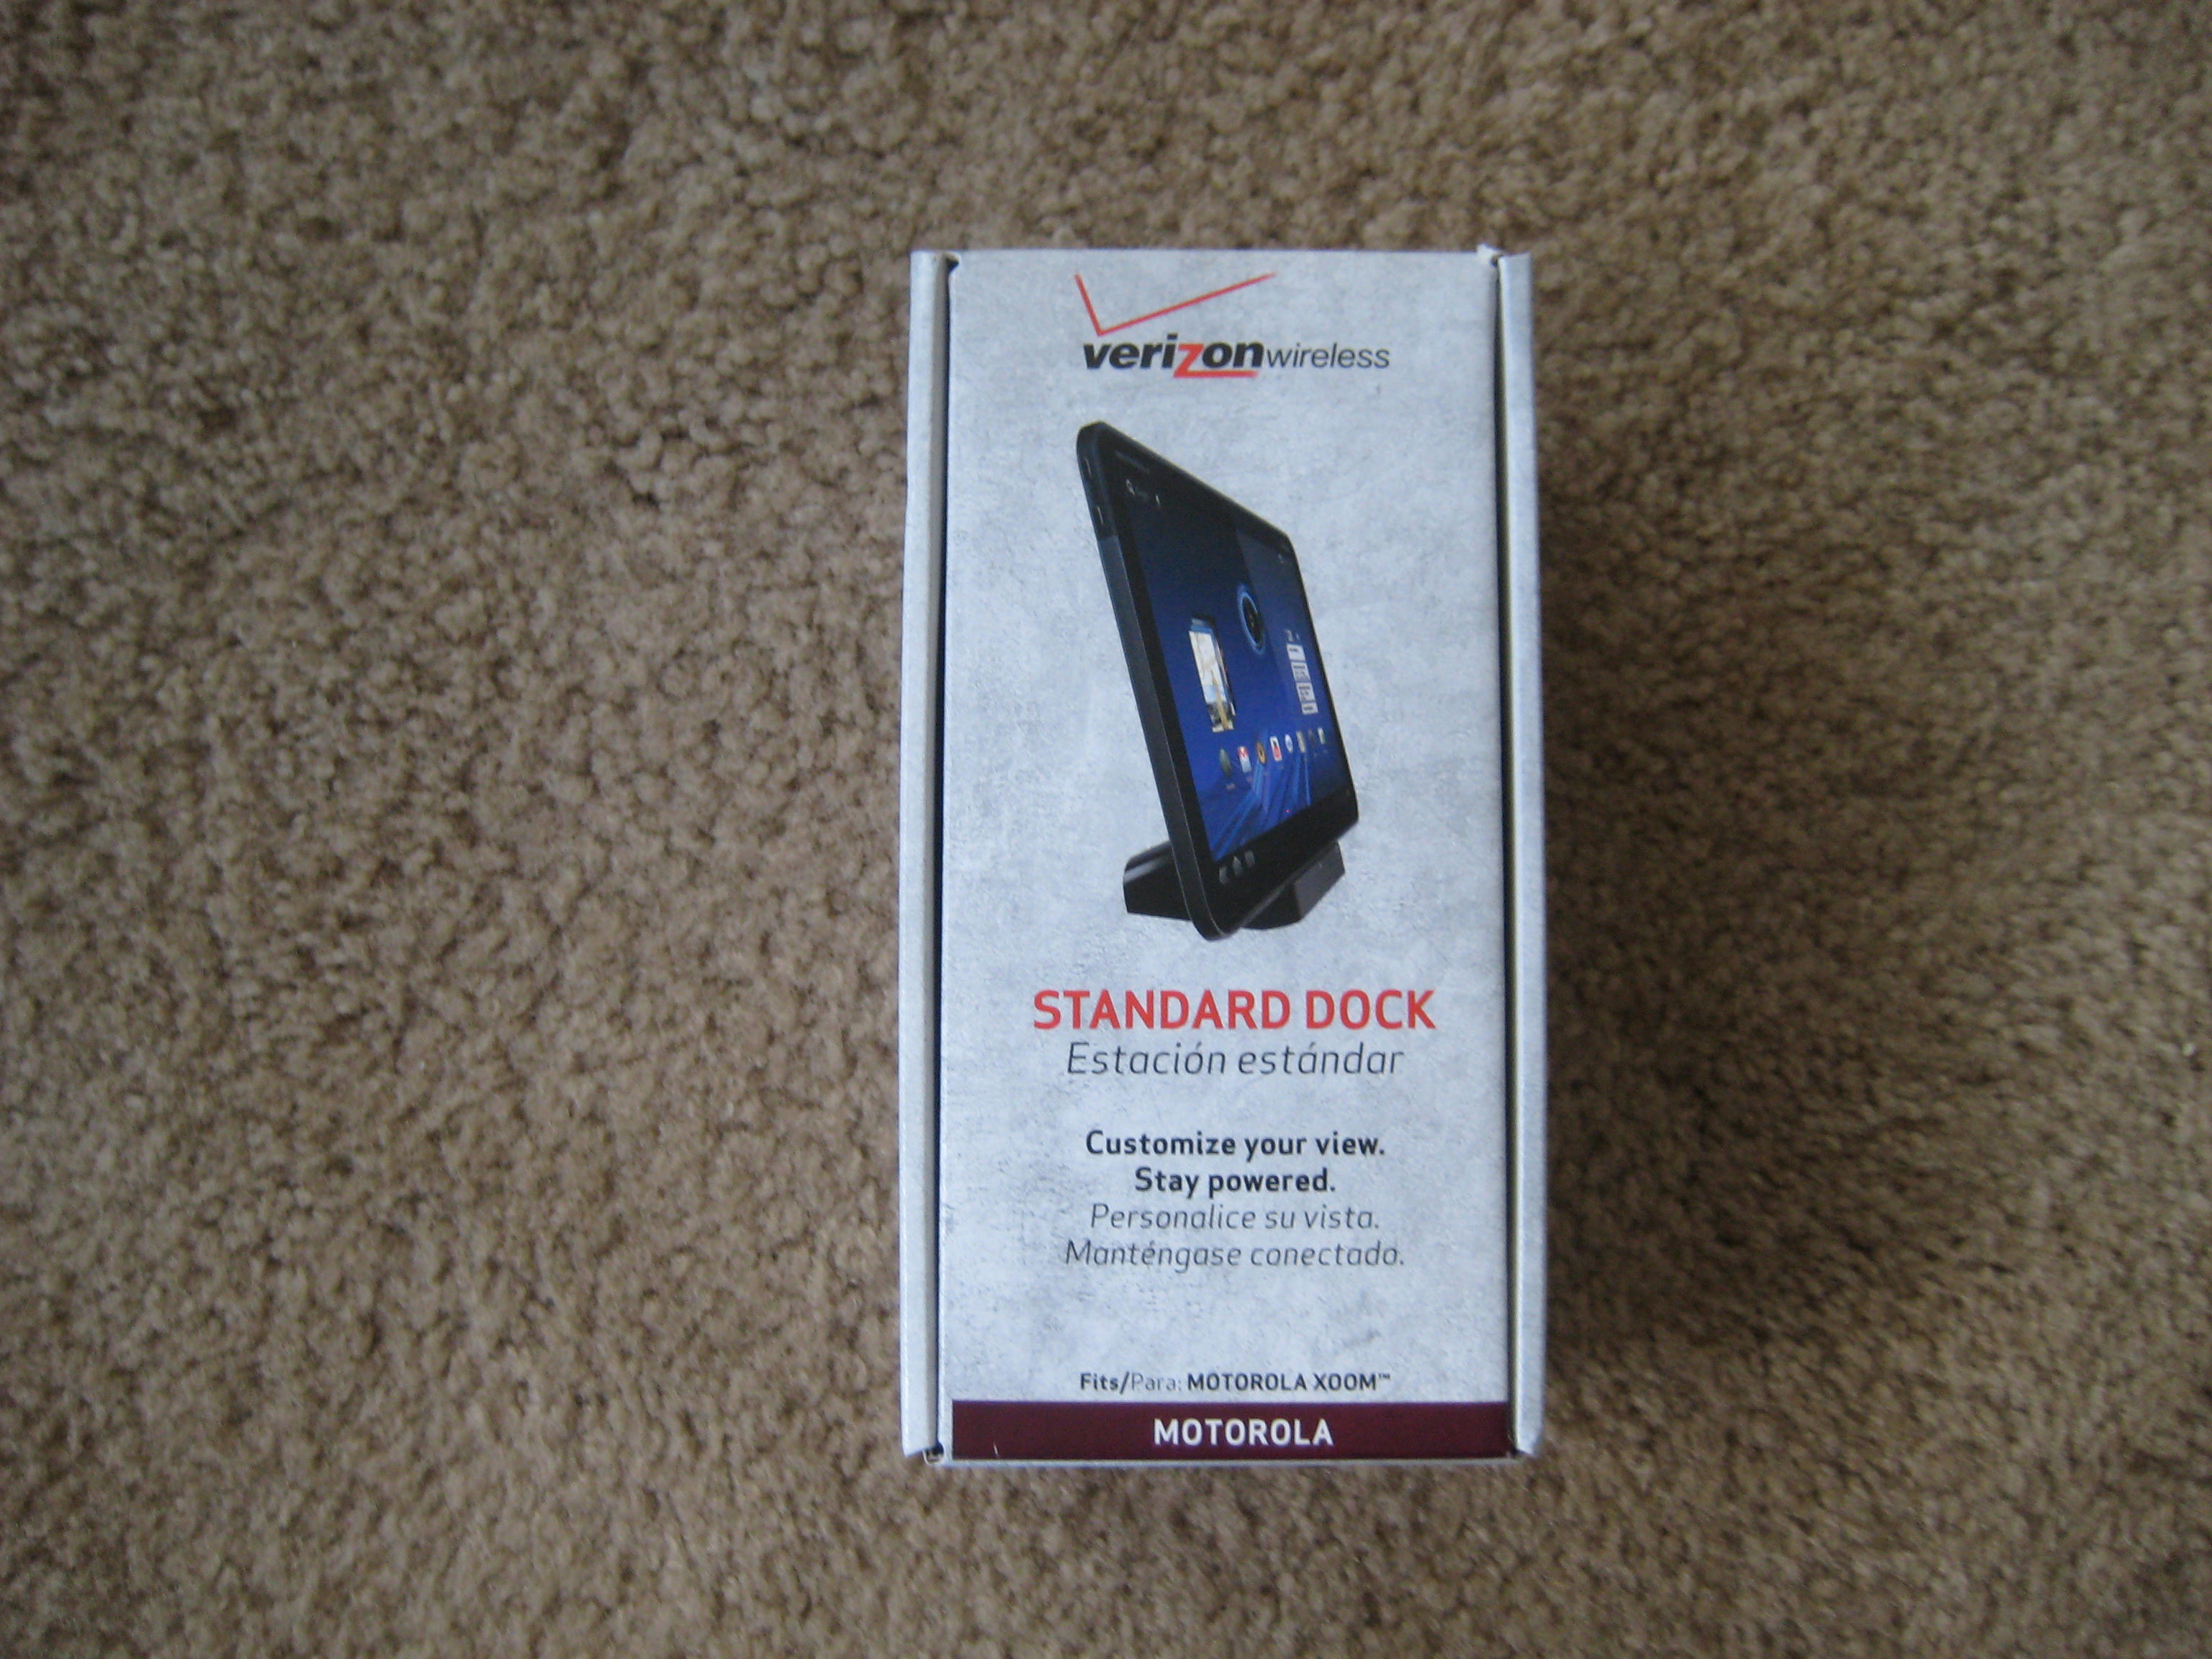
Last week Motorola finally started allowing Xoom tablets to be sent in for their 4g LTE upgrade. Mine came back today and I was surprised to discover that they had sent it back with a little something extra, a dock. I had been looking at getting one of these since I go the Xoom back in February. The only reason I hadn't was that there was no passthrough USB so I wouldn't be able to use it while developing Android applications. Having received one for free I decided to go ahead and see if I could modify it to have USB and make it a little more useful.
Disassembling the dock was actually easier than expected, Motorola opted to use screws instead of the typical snap together casing.
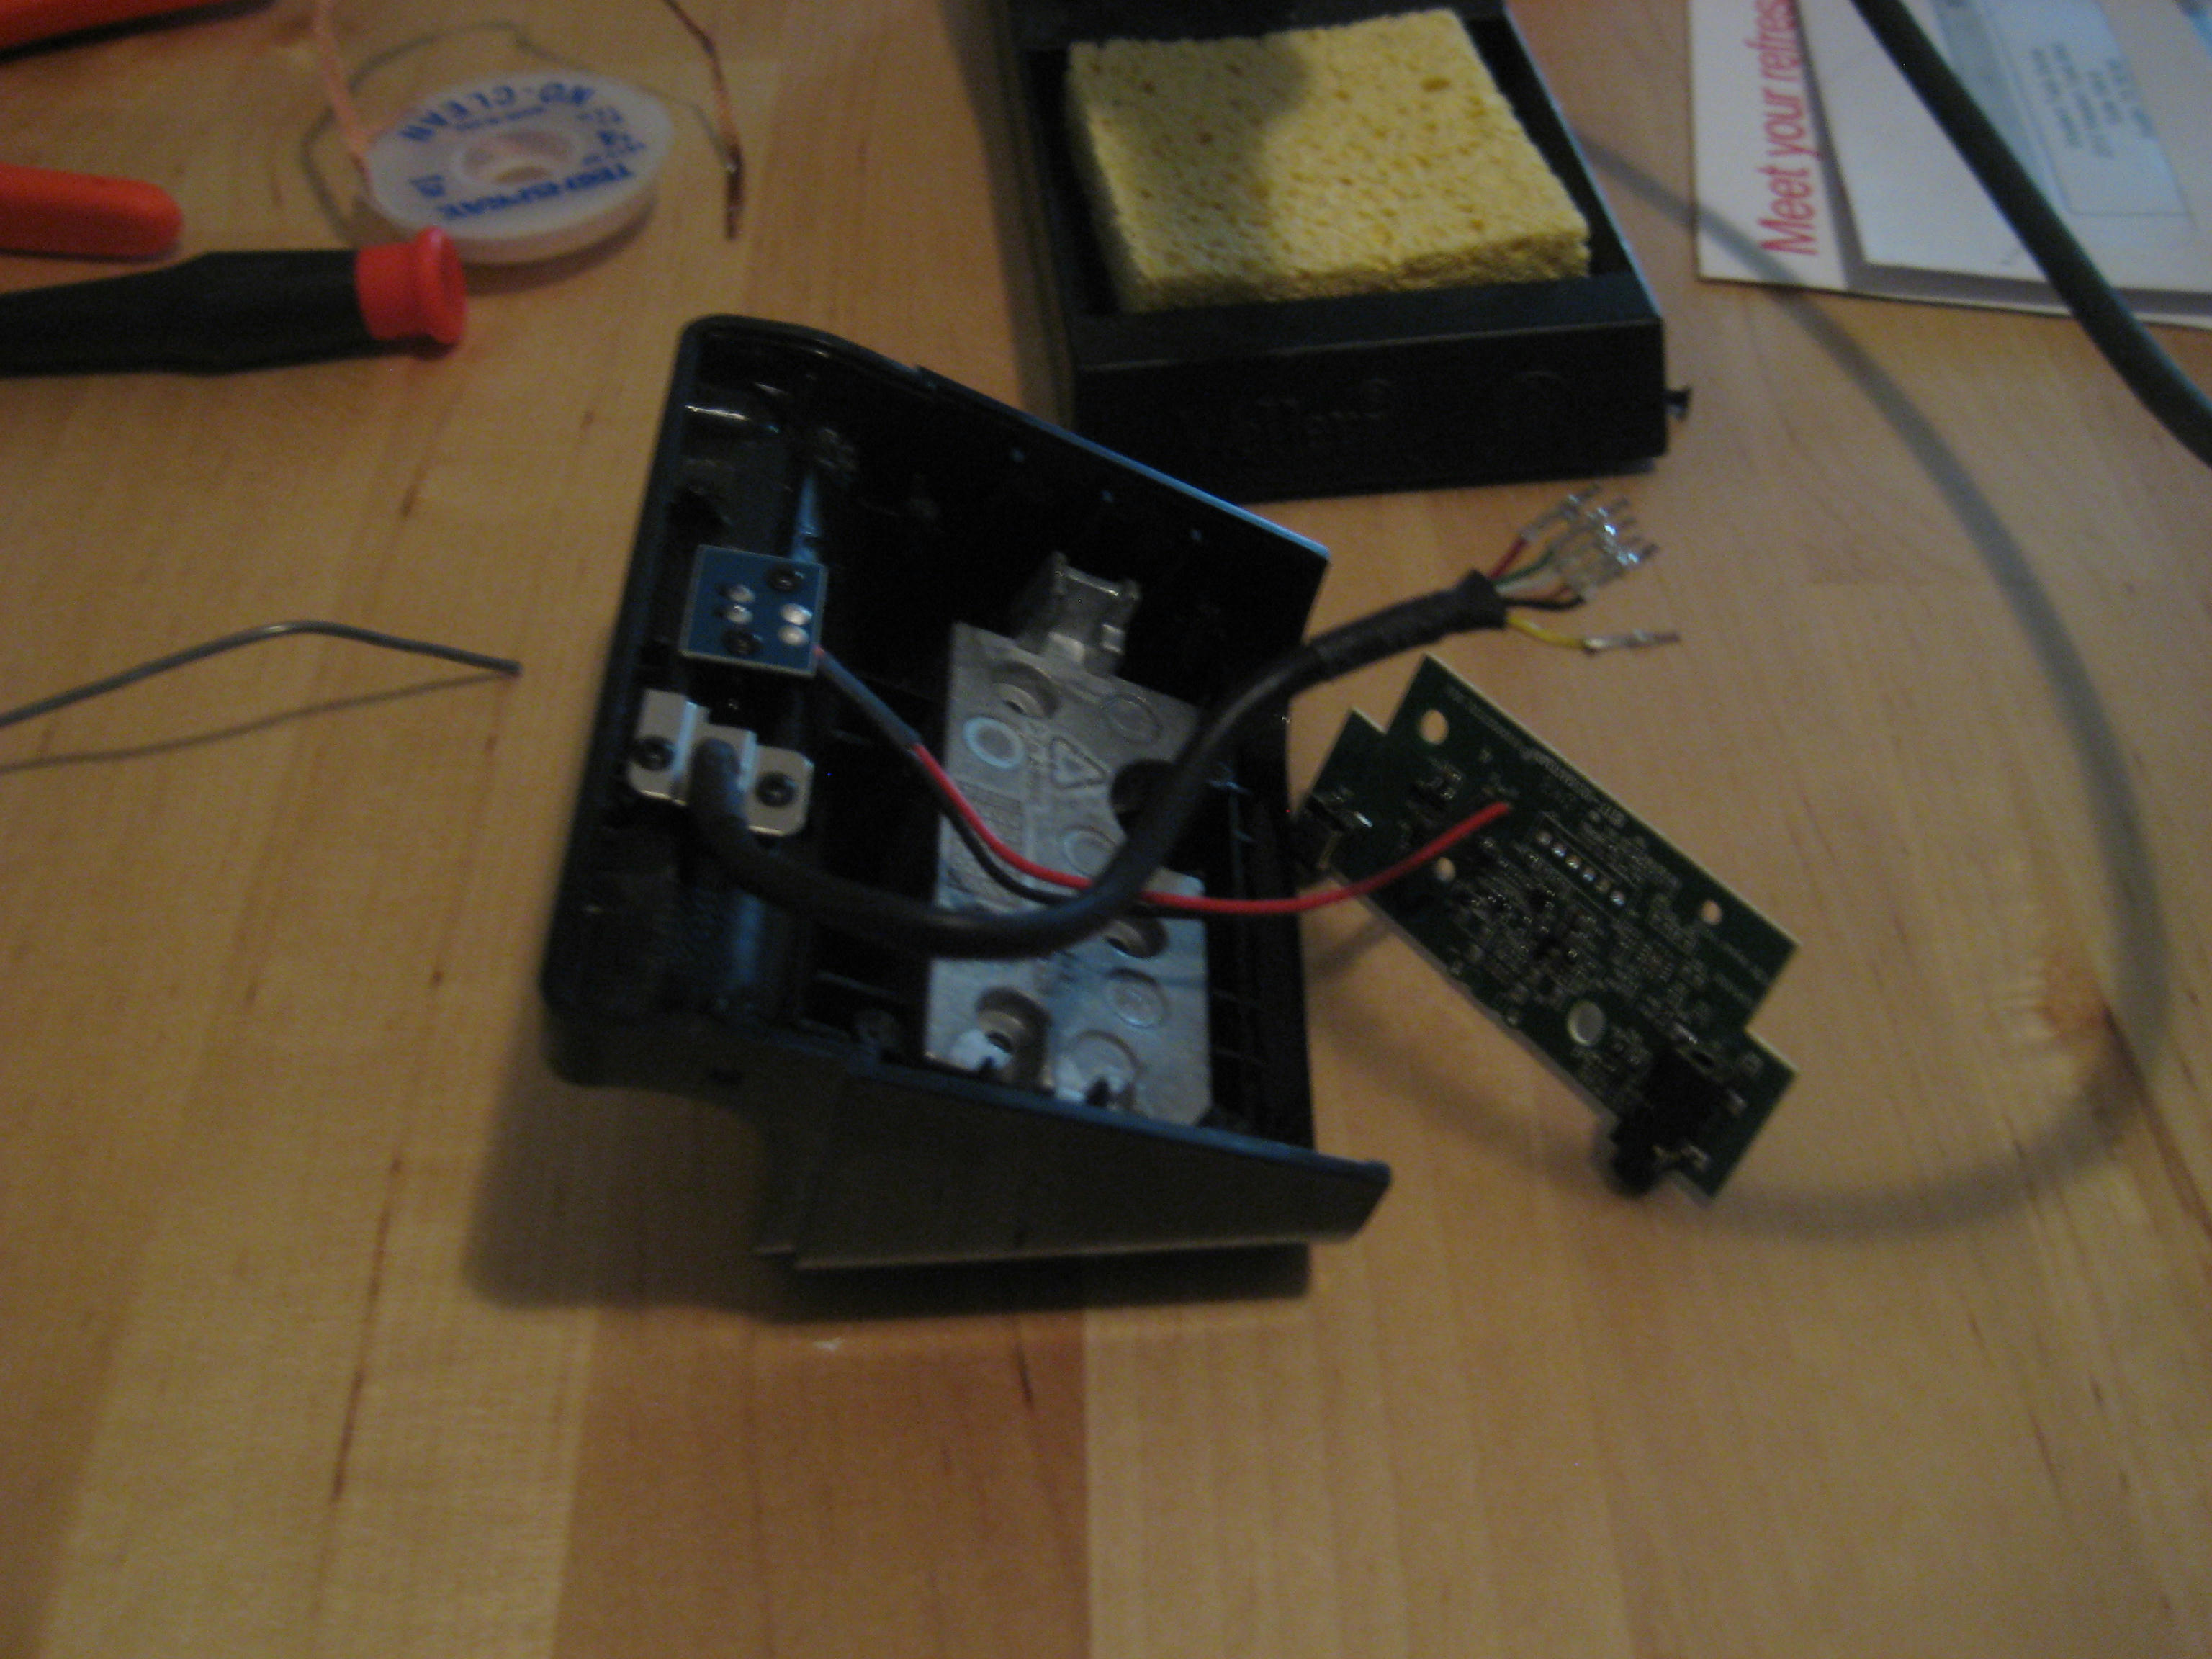
From there it was as simple as desoldering the USB connector in the dock and splicing it to a USB cable that I had laying around. I opted to remove the audio jack from the board inside the dock so that I could route the USB cable out through the existing hole.
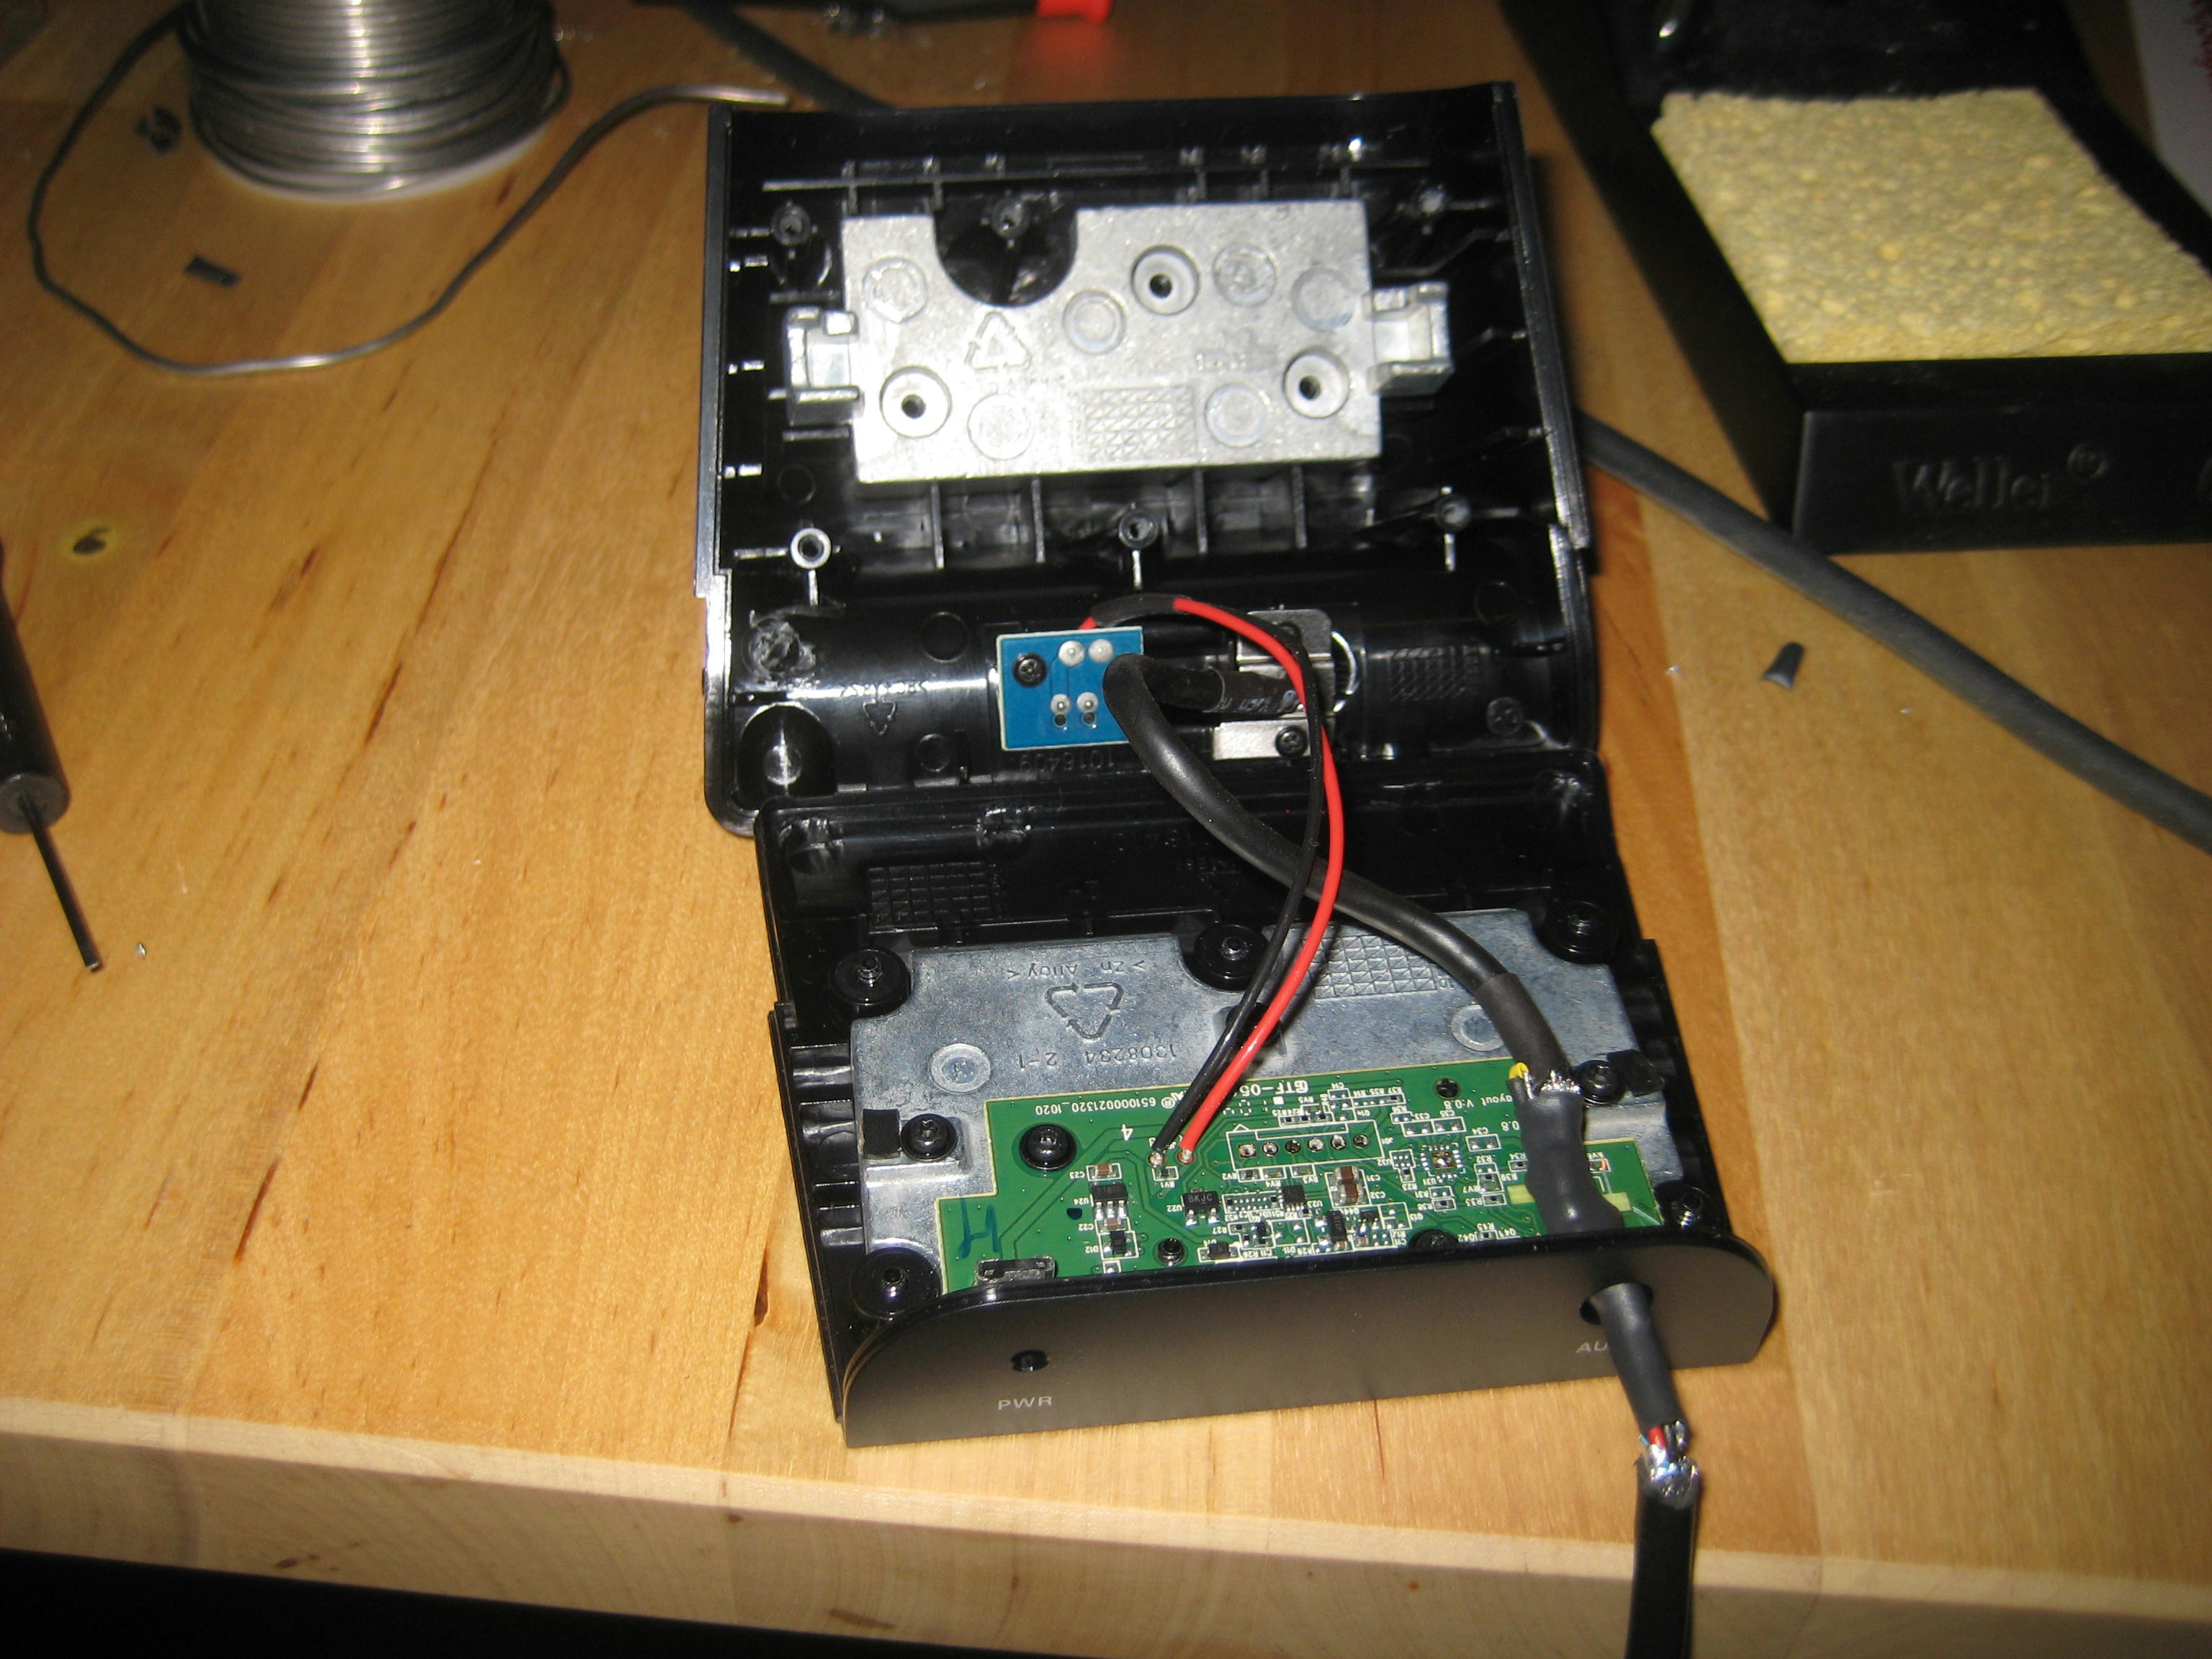
I hooked the Xoom up to the dock and my computer to make sure that all the connections had been made correctly and then promptly sealed the dock back up.
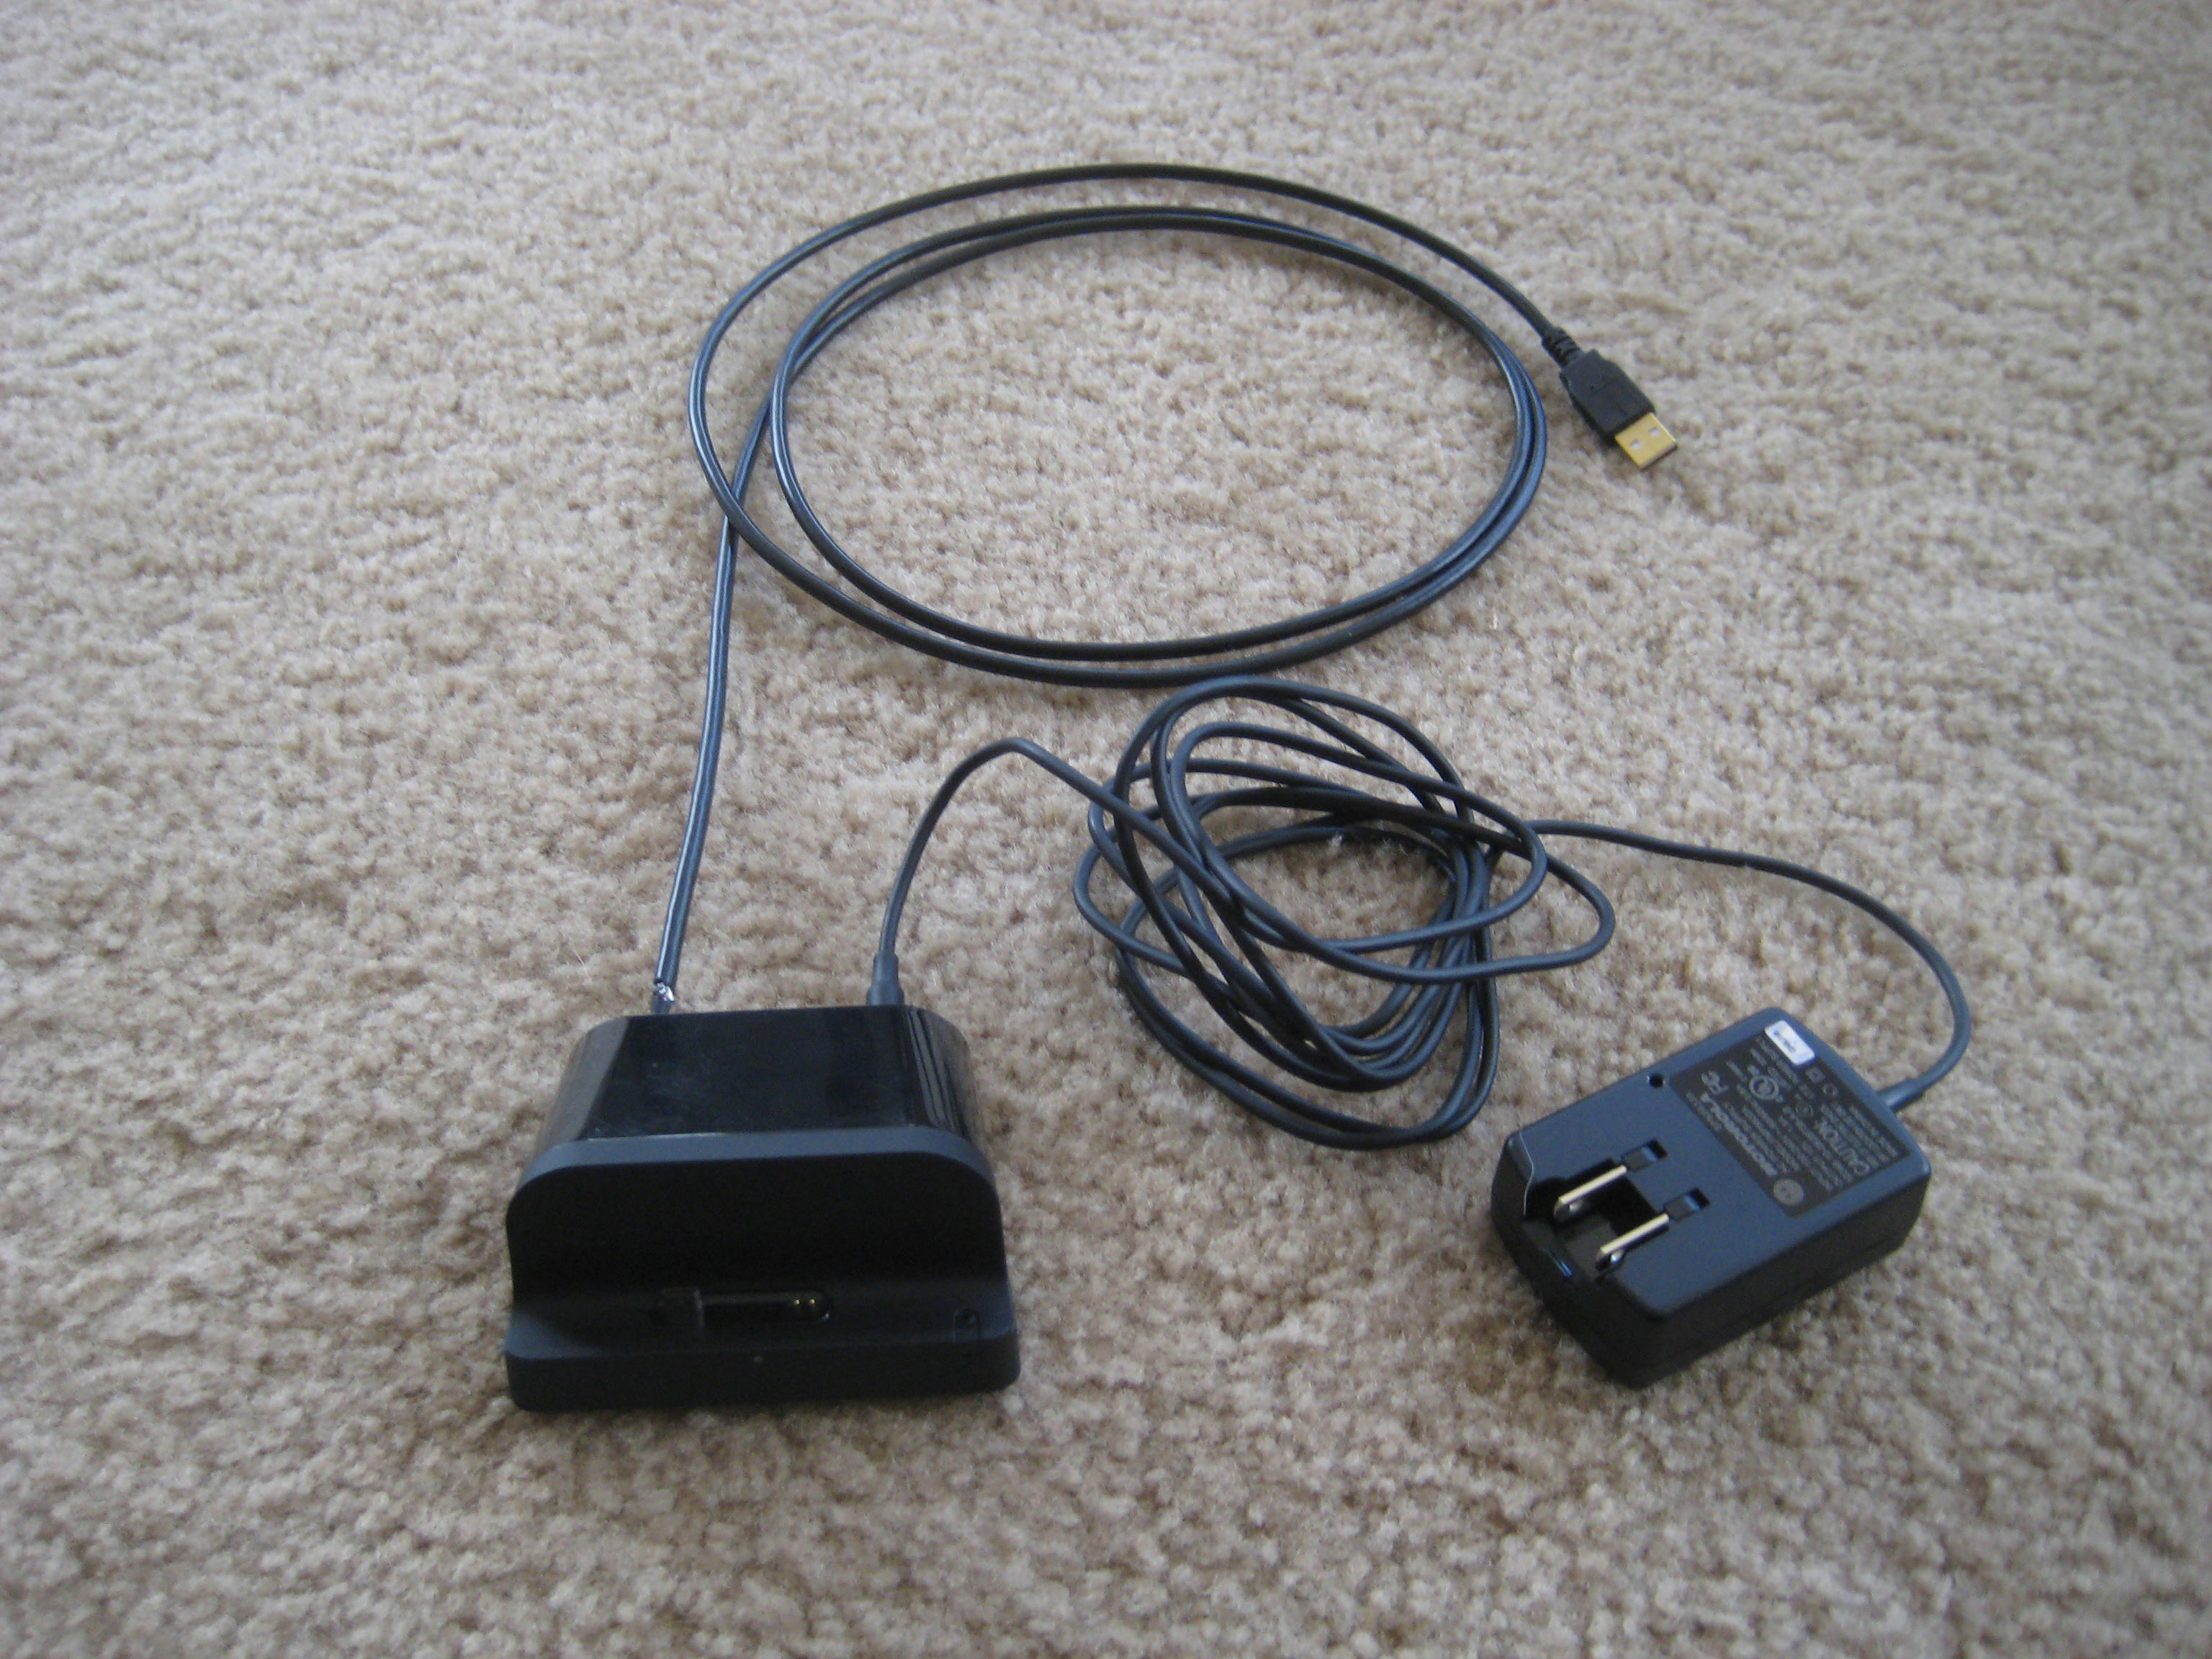
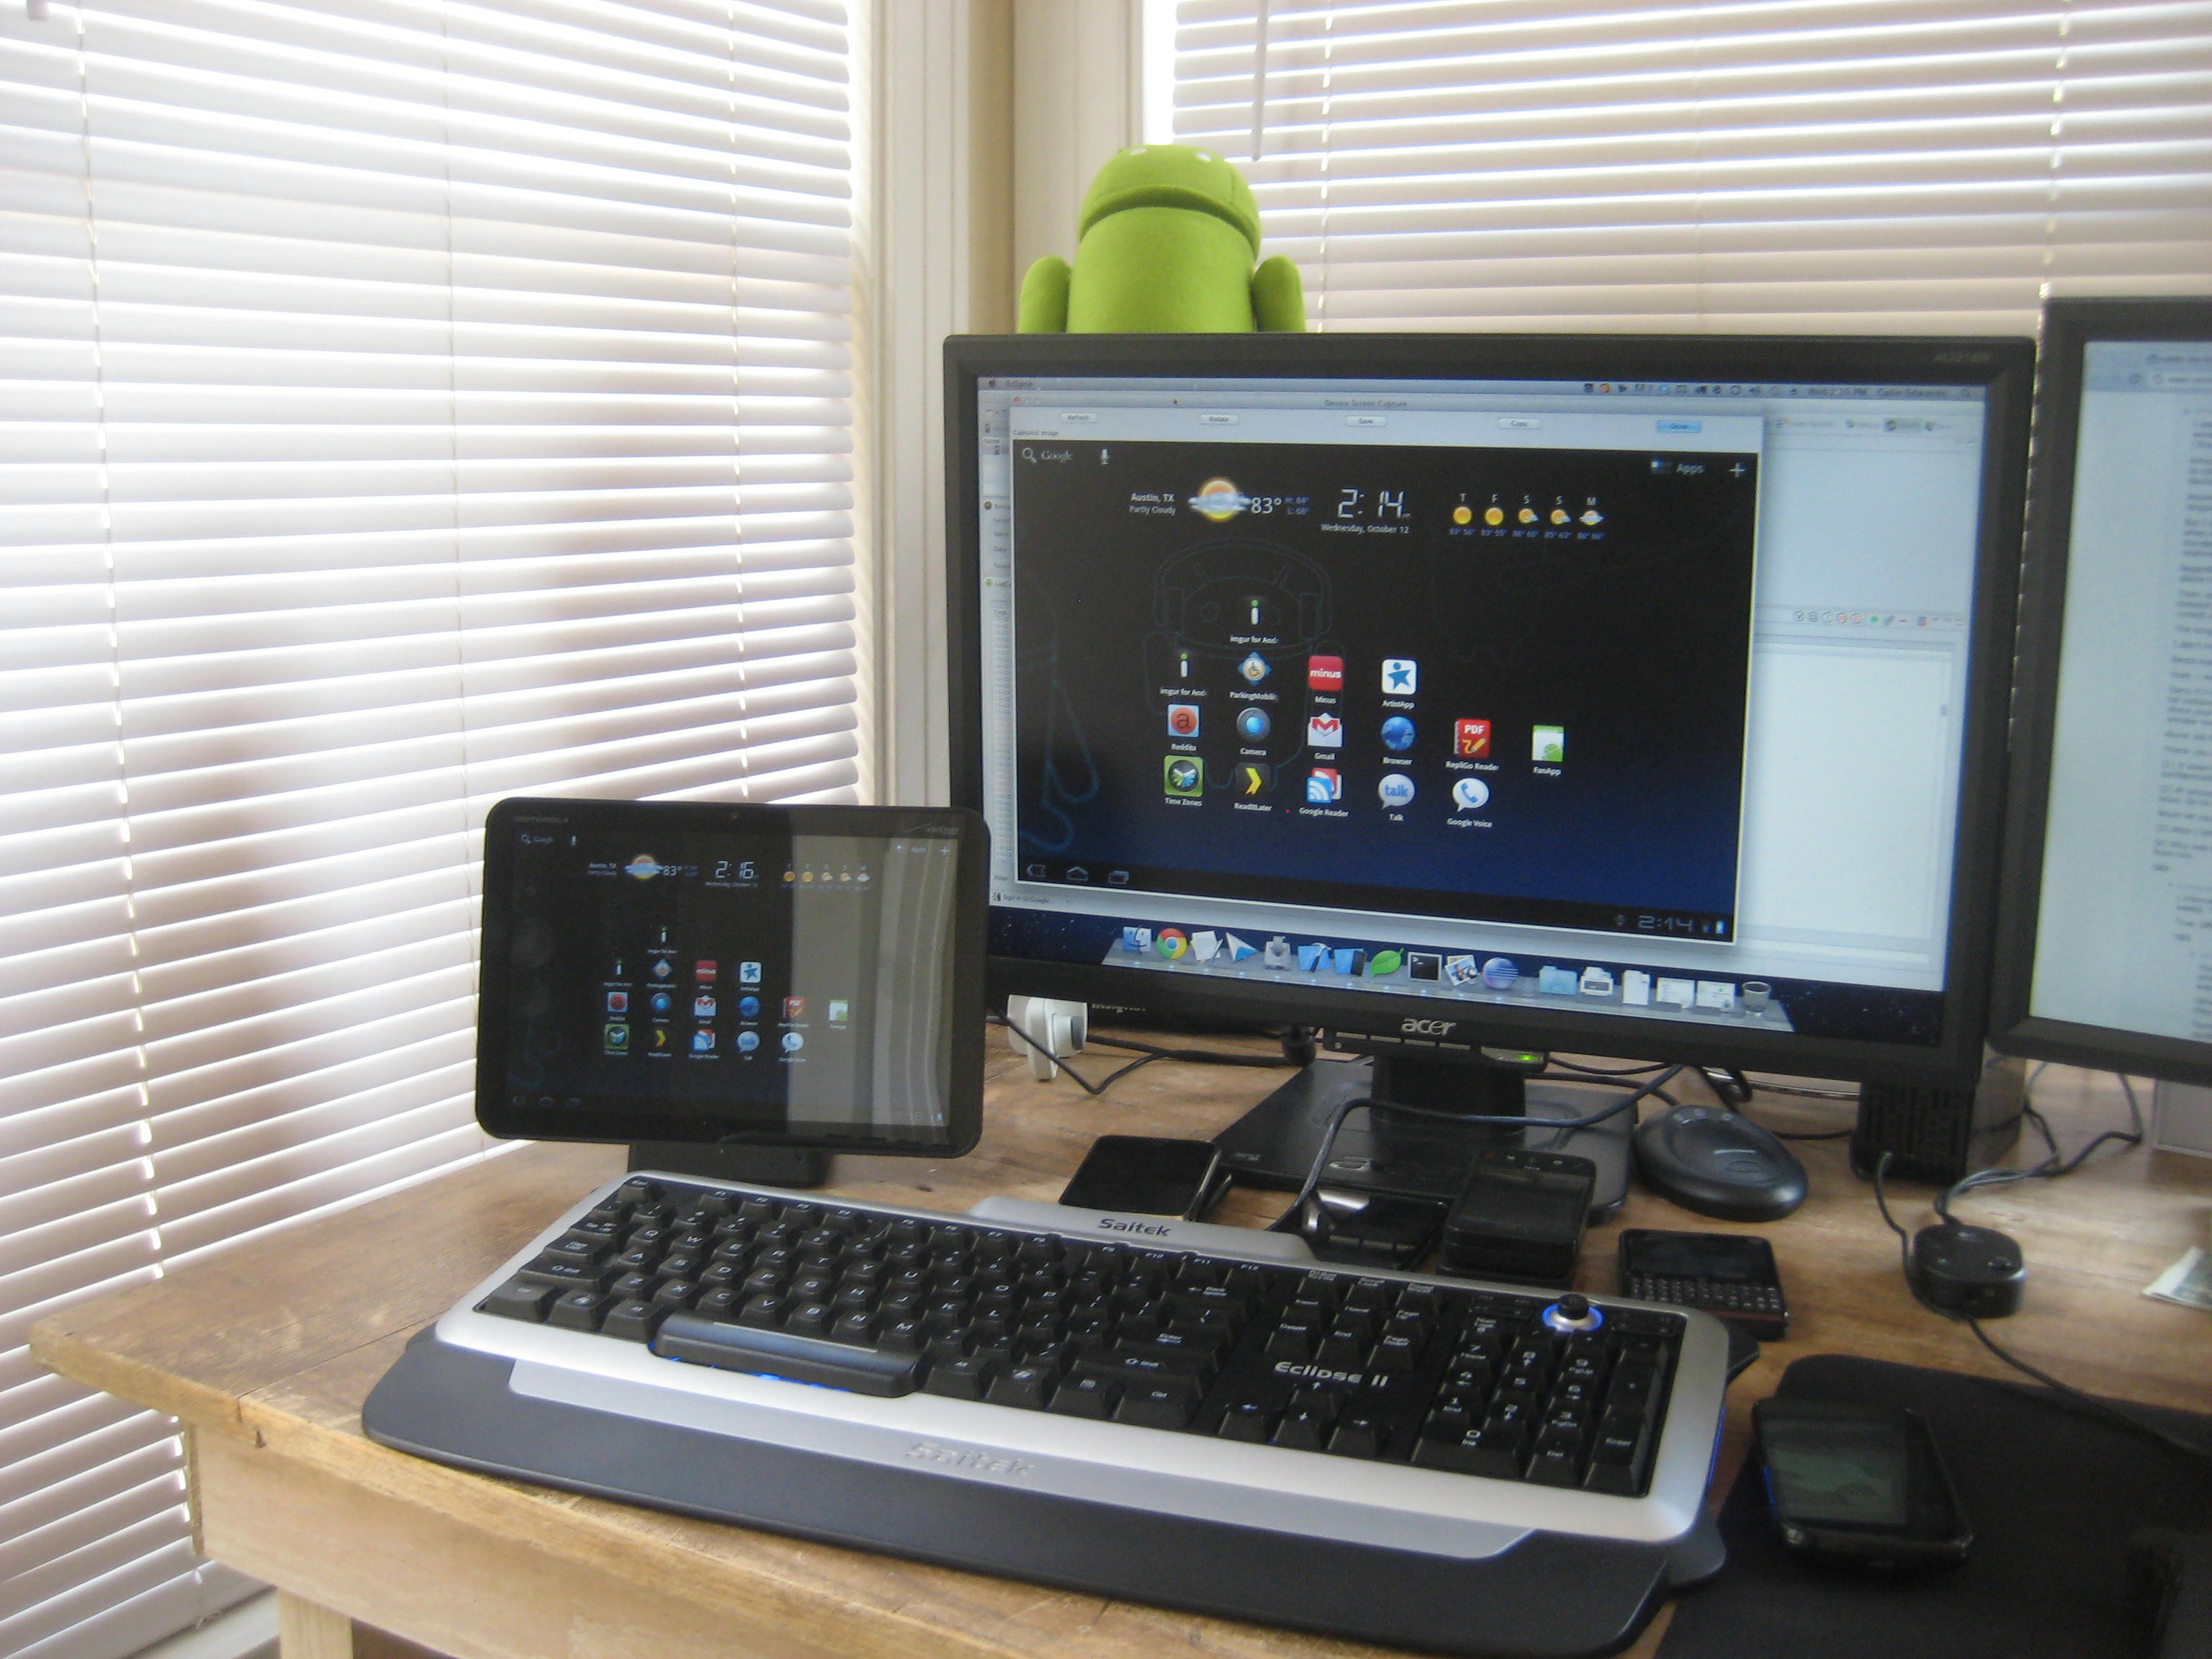
Finally a useful dock for the Xoom!